ALLEN DRIVE OPEN STORAGE
DIY Tractor Storage: Building a Shed on a Budget
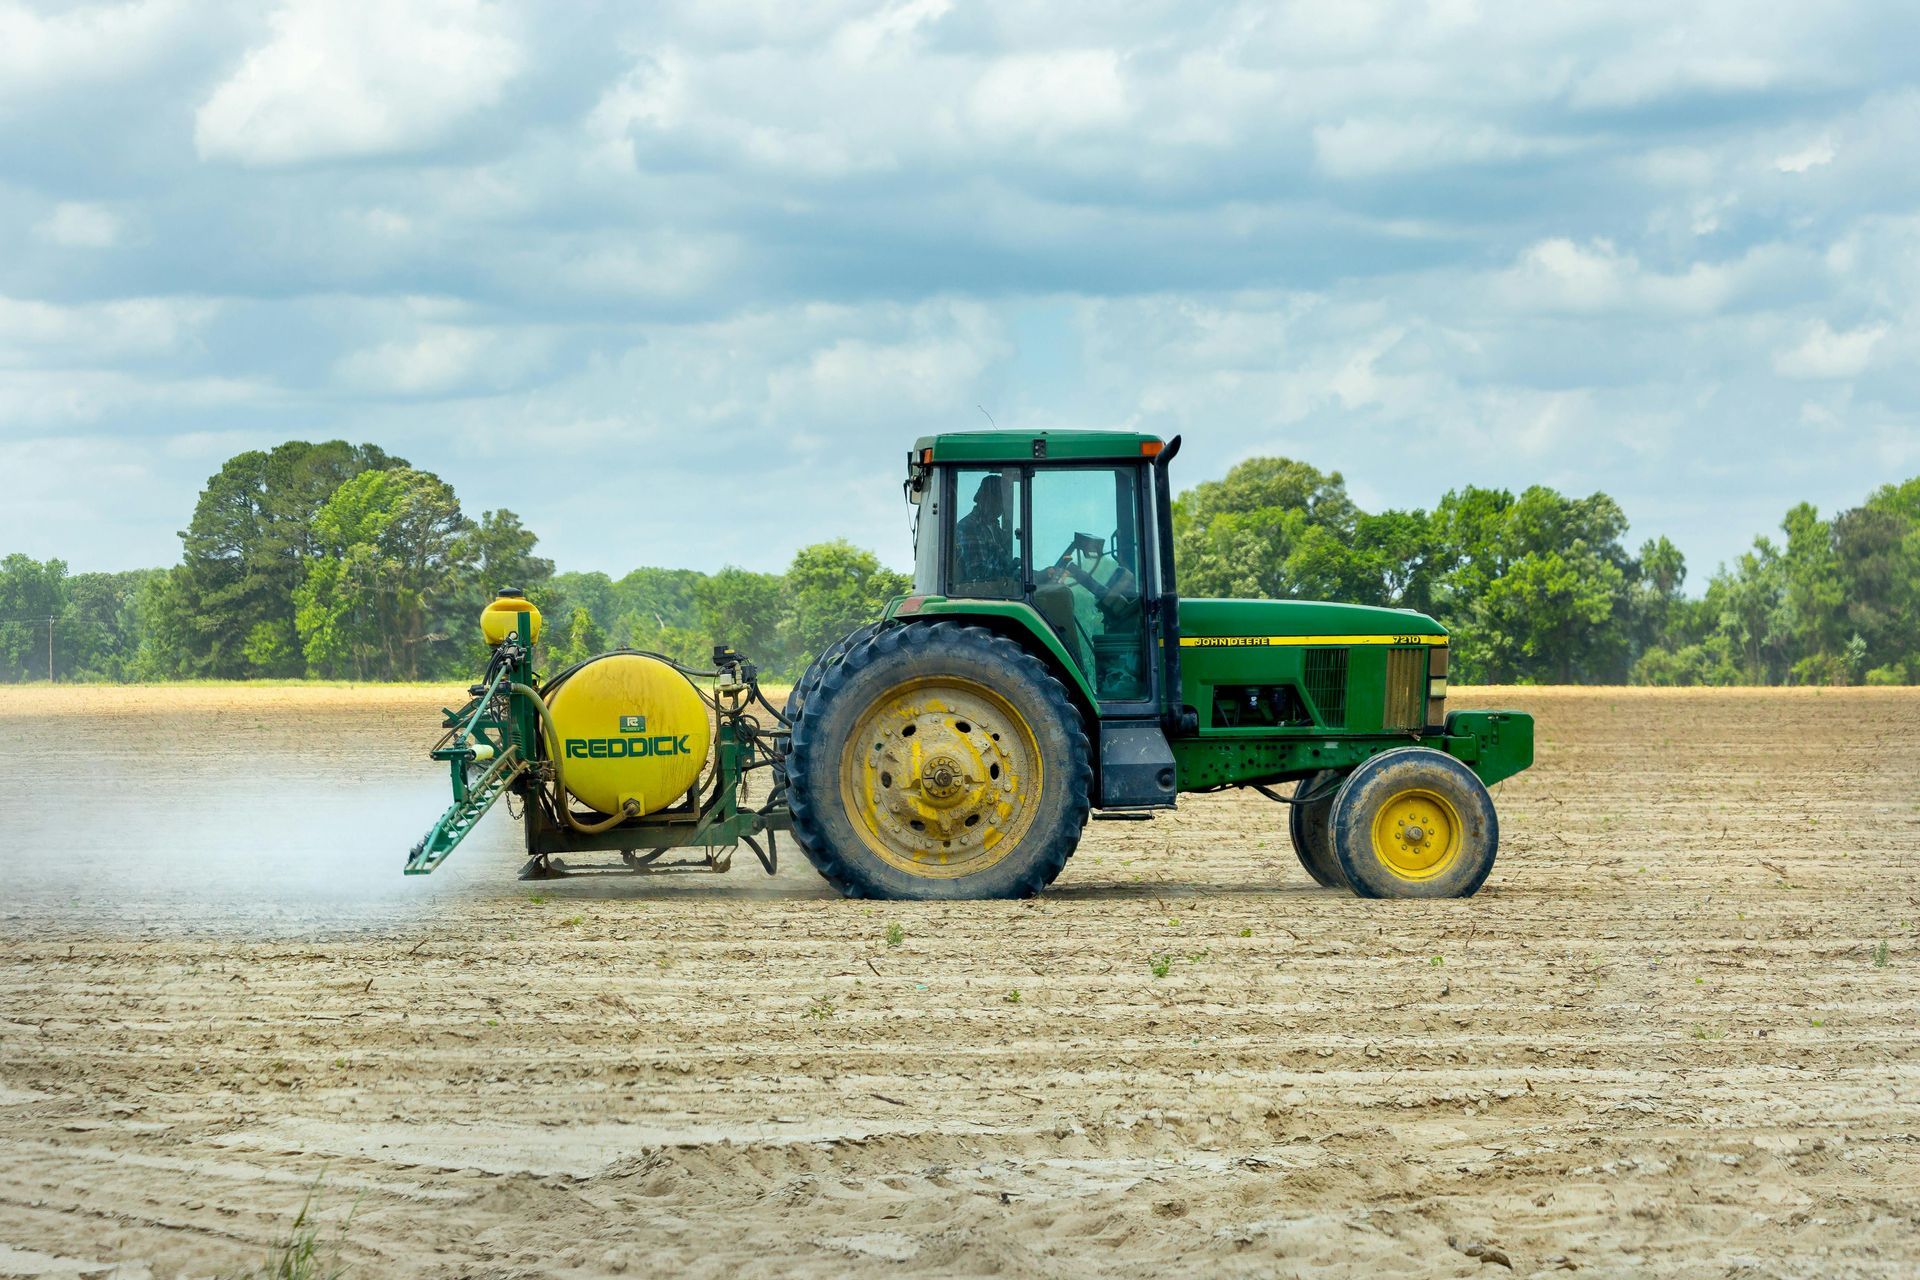
Are you tired of your tractor taking up valuable space in your garage or backyard? Do you wish you had a dedicated place to store your tractor and other farm equipment? Building a storage shed for your tractor may seem like a daunting task, but with a little bit of planning and some DIY skills, you can create a cost-effective storage solution that will not only protect your equipment but also free up space on your property. In this blog post, we will guide you through the steps of building your own DIY tractor storage shed on a budget.
Gathering Materials and Planning
Before you begin any DIY project, it's important to have a solid plan in place. Here are some steps to follow when planning to build a shed for your tractor:
1. Determine the size of your shed
Measure the dimensions of your tractor and other equipment to determine the minimum size of your shed. It's always better to err on the side of bigger rather than smaller, as you may acquire more equipment in the future.
2. Choose a location
Decide where you want to build your shed. It should be easily accessible, level, and have enough space to accommodate the size of your shed.
3. Gather materials
For a budget-friendly shed, consider using reclaimed or recycled materials. Check for any excess materials around your property or ask friends and family if they have any available. Some essential materials you will need are:
- Wood for framing
- Siding or metal roofing
- Concrete blocks or gravel
- Shingles
- Nails, screws, and other hardware
Building the Foundation
Once you have your plan in place and materials gathered, it's time to start building your shed's foundation. A strong and level foundation is crucial for the stability and durability of your shed. There are two main types of foundations for a DIY storage shed – concrete blocks and gravel.
Concrete blocks
This is a popular option as it provides a solid and durable foundation. Follow these steps to create a concrete block foundation for your shed:
- Clear the area – Remove any vegetation or debris from the designated spot for your shed.
- Level the ground – Use a shovel or rake to level the ground. If the area is not level, you may need to add gravel or compact the soil.
- Lay down a layer of gravel – This will help with water drainage and leveling the foundation.
- Place the blocks – Arrange the concrete blocks in a square or rectangular shape, making sure they are level. You can also add a layer of mortar between the blocks for extra stability.
Gravel
If you're limited on budget or time, a gravel foundation is a cost-effective and quick alternative. Here's how you can create a gravel foundation for your shed:
- Clear the area – Remove any vegetation and debris from the designated spot for your shed.
- Level the ground – Use a shovel or rake to level the ground. Make sure the area is at least 6 inches wider and longer than the size of your shed.
- Add a layer of gravel – Spread a 4-inch layer of gravel and compact it with a tamper to create a sturdy base.
Framing the Walls and Roof
Now that your foundation is in place, it's time to start framing the walls and roof of your shed. The framing process can be broken down into four steps:
1. Cut and assemble the wall frames
Measure and cut the wood for the wall frames, making sure to accommodate for windows and doors. Assemble the frames with nails or screws.
2. Install the walls
Place the wall frames on the foundation and secure them with concrete screws or anchor bolts. Make sure they are plumb and level.
3. Build the roof trusses
Measure and cut the wood for the trusses and connect them with metal truss plates. You can also use prefabricated trusses for convenience.
4. Install the roof
Place the roof trusses on top of the walls and secure them with nails or screws. Add shingles on top of the trusses to protect your shed from weather elements.
Adding Finishing Touches
The final step in building your DIY tractor storage shed is adding the finishing touches. Here are some essential elements you can add to make your shed more functional and aesthetically pleasing:
Doors and windows
Choose the right size doors and windows for your shed, making sure they are weatherproof.
Ventilation
Install vents on the gable ends or soffits to allow proper air circulation.
Interior shelving and storage
Add shelves and hooks to store smaller equipment and tools.
Paint or stain
Give your shed a fresh coat of paint or stain to protect the wood from weather damage.
Contact Allen Drive Open Storage for Secure Tractor Storage Services in Conroe, TX
Now that you have successfully built your DIY tractor storage shed, it's time to move your equipment in. However, if you don't have enough space on your property or are looking for a more secure storage option,
Allen Drive Open Storage is here to help. Our facility in Conroe, TX, offers
affordable and secure storage solutions for tractors,
cars,
motorcycles,
trailers,
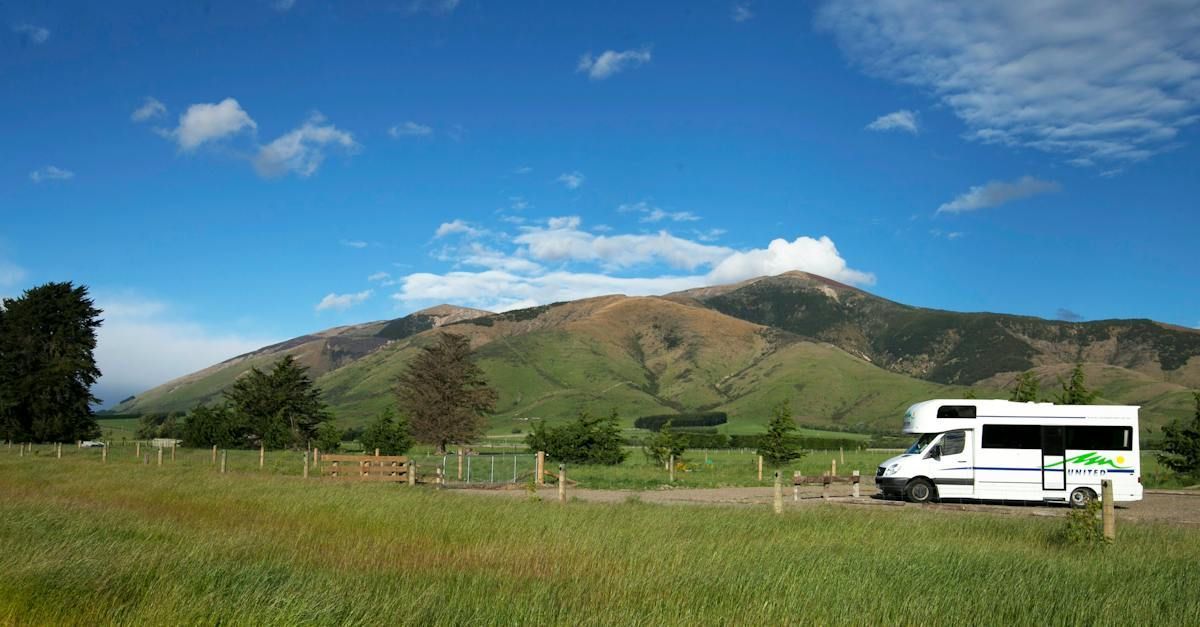
RVs,
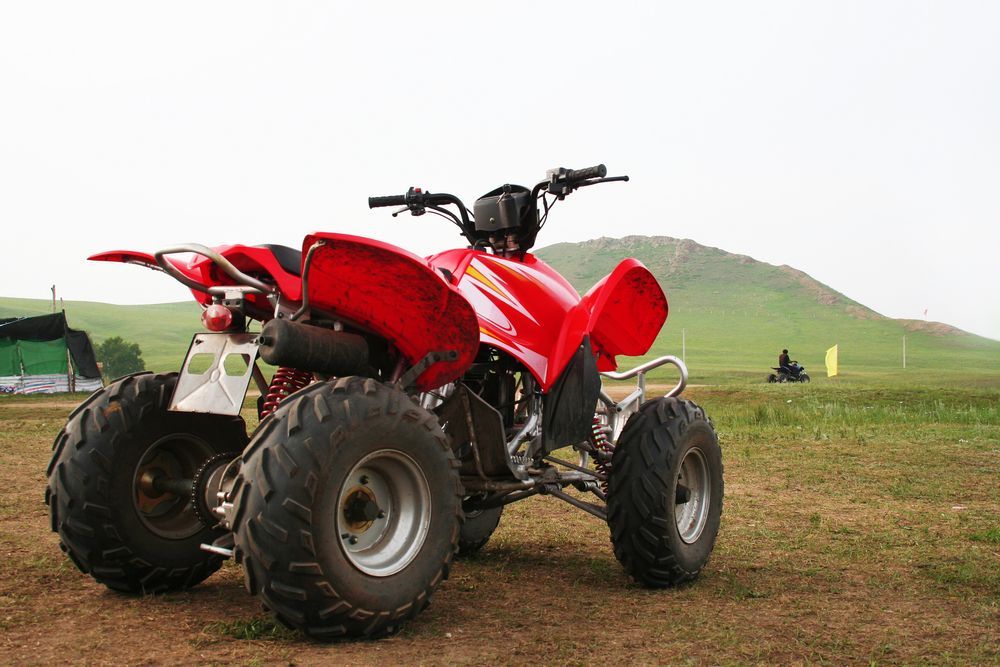
ATVs, and
boats. Contact us at
(936) 290-4061 to learn more or to reserve a storage unit today!
FAQs
How much does it cost to build a DIY tractor storage shed?
The cost of building a DIY tractor storage shed can vary depending on the size and materials used. However, using reclaimed or recycled materials can significantly reduce the cost.
How long does it take to build a tractor storage shed?
The time it takes to build a tractor storage shed can vary depending on the size and complexity of the shed, as well as your level of building experience. However, it typically takes 1-2 weekends to complete.
Can I add electricity to my DIY tractor storage shed?
Yes, you can add electricity to your shed by running power from your house or installing a solar panel system.
Can I customize the design of my DIY tractor storage shed?
Yes, you can customize the design of your shed to fit your specific needs and preferences.
Do I need a building permit to build a DIY tractor storage shed?
Building permit requirements vary by location, so it's best to check with your local authorities before starting your project.


